How to automate Azure AD Application Proxy - Part 2
You want to configure application proxy through infrastructure as code? How do you do this? I've written a tool to make this easy

This is part 2 of a 2 part series. See part 1 at "How to automate Azure AD Application Proxy?"
In the last post we finished off with an Application Proxy connector configured and connected to Azure AD.
In this post we will:
- setup a test virtual machine
- configure it in Application Proxy
- be able to access the application without any VPN or public IP
Prerequisites
- A Public DNS zone for exposing the application in
- A SSL certificate stored in an Azure Key Vault certificate
- Node.JS and Yarn installed
You can issue the certificate with certbot or something like it if you don't have one already.
Creating the demo Virtual Machine
You can skip this section if you already have an application you want to expose, just make sure the application proxy connector has network connectivity to the application and that it has a DNS record the application proxy can resolve (IP addresses are not supported).
First we are going to create a subnet in the Virtual Network we created in part 1:
resource "azurerm_subnet" "apps" {
  name                 = "apps"
  resource_group_name  = azurerm_resource_group.this.name
  virtual_network_name = azurerm_virtual_network.this.name
  address_prefixes     = ["10.1.0.192/28"]
}Then we'll create an Azure Private DNS Zone so that the application proxy can resolve our test Virtual Machine (it doesn't support plain IP addresses):
variable "private_dns_zone" {
  default = "app-proxy-demo.local"
}

resource "azurerm_private_dns_zone" "this" {
  name                = var.private_dns_zone
  resource_group_name = azurerm_resource_group.this.name

  tags = local.tags
}

resource "azurerm_private_dns_zone_virtual_network_link" "this" {
  name                  = "app-proxy"
  private_dns_zone_name = azurerm_private_dns_zone.this.name
  resource_group_name   = azurerm_resource_group.this.name
  virtual_network_id    = azurerm_virtual_network.this.id

  registration_enabled = true

  tags = local.tags
}
We've set registration_enabled so that the Virtual Machine will automatically get a DNS entry when created, we won't need to manage it ourselves.
You can update the private_dnz_zone variable to whatever you want, but the one I've provided will work just fine for this.
Now it's time to create the Virtual Machine:
resource "azurerm_network_interface" "demo" {
  location            = var.location
  name                = "${var.prefix}-demo-nic"
  resource_group_name = azurerm_resource_group.this.name

  ip_configuration {
    name                          = "internal"
    subnet_id                     = azurerm_subnet.apps.id
    private_ip_address_allocation = "Dynamic"
  }
}

resource "azurerm_linux_virtual_machine" "this" {
  admin_username        = "adminuser"
  location              = var.location
  name                  = "${var.prefix}-demo-vm"
  network_interface_ids = [azurerm_network_interface.demo.id]
  resource_group_name   = azurerm_resource_group.this.name
  size                  = var.size

  admin_ssh_key {
    username   = "adminuser"
    public_key = file("~/.ssh/id_rsa.pub")
  }

  os_disk {
    caching              = "ReadWrite"
    storage_account_type = "Standard_LRS"
  }

  source_image_reference {
    publisher = "Canonical"
    offer     = "0001-com-ubuntu-server-jammy"
    sku       = "22_04-lts-gen2"
    version   = "latest"
  }

  tags = local.tags
}It assumes you have an SSH public key at ~/.ssh/id_rsa.pub, if you don't have one then generate one with:
ssh-keygen -t rsaIt has to be an RSA formatted key currently.
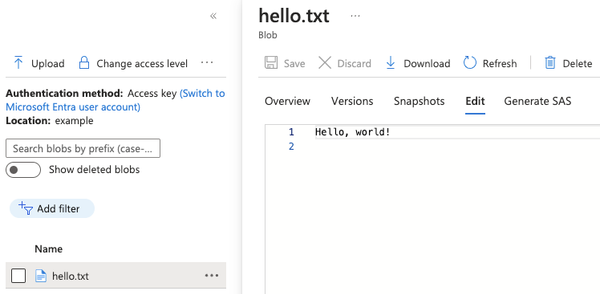
Lastly we're going to install nginx to use as a web server and put a welcome page on it:
resource "azurerm_virtual_machine_extension" "demo_install" {
  name                       = "install"
  virtual_machine_id         = azurerm_linux_virtual_machine.this.id
  publisher                  = "Microsoft.Azure.Extensions"
  type                       = "CustomScript"
  type_handler_version       = "2.1"
  auto_upgrade_minor_version = false
  protected_settings         = <<PROTECTED_SETTINGS
    {
      "script": "${base64encode("apt update && apt install -y nginx && echo 'Hello World!' > /var/www/html/index.html")}"
    }
    PROTECTED_SETTINGS

  tags = local.tags
}Running the terraform
You should now have all the files needed and if you don't you can just grab them from timja/azuread-application-proxy-demo.
We're now going to run the terraform:
terraform init
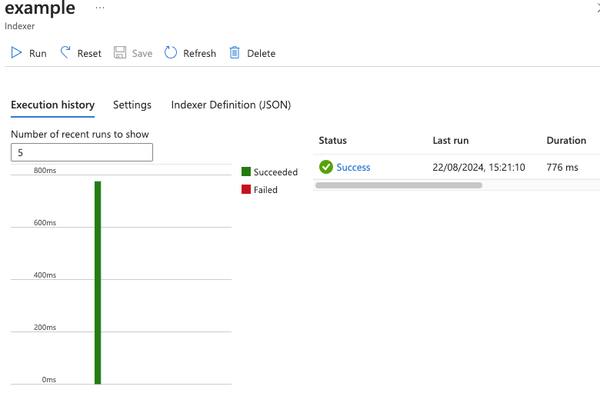
terraform plan -out tfplanReview the plan and if it looks good approve it:
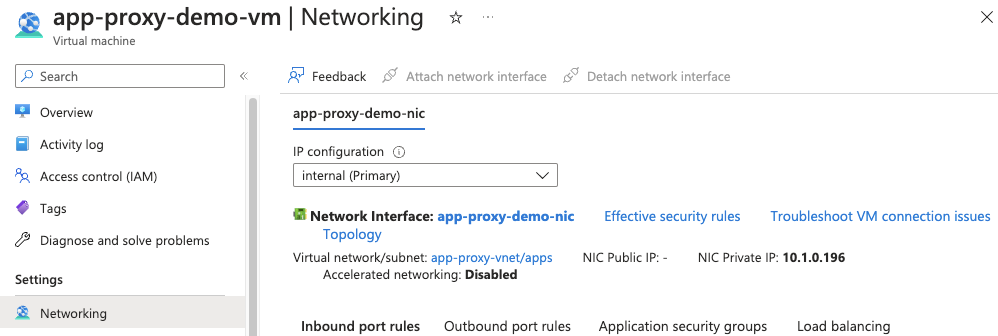
terraform apply "tfplan"All going well it should succeed and if you go to your Virtual Machine in the portal then you should see that it is running and it has only a private IP address:
Configuring the application access
For this step you need to use a verified domain in your Azure AD domain settings.
To see your currently verified domains in the Azure Portal go to:
Azure AD → Custom domain names
Choose an external URL that you want to use to access the application, e.g. demo.contoso.com
DNS
Create a public DNS record e.g if you use Azure DNS to host your public DNS:
resource "azurerm_dns_cname_record" "this" {
  name                = "demo"
  resource_group_name = "contoso-rg"
  record              = "demo-tenant_name.msappproxy.net"
  ttl                 = 3600
  zone_name           = "contoso.com"
}Make sure to update all references from contoso to your verified domain name.
Update tenant_name to be your tenants name in lower case with all spaces removed, you can check exactly what this should be by going to:
Azure AD → Enterprise Applications → Application Proxy → Configure an app.
At the bottom of the page there is a callout with instructions:

Enterprise application
Normally I would use terraform to automate Azure but the provider doesn't support this currently hashicorp/terraform-provider-azuread/issues/7.
I tried implementing it but the SDK terraform uses has bugs that need maintainer input on and I haven't got a response yet.
So I wrote a CLI tool that can do this for you instead. hmcts/azure-app-proxy-manager.
All you need to do is provide a simple config file then run the CLI and it will configure as many applications as you want.
apps:
  - name: Demo
    externalUrl: "https://demo.your-public-dns-zone-here"
    logoUrl: https://raw.githubusercontent.com/timja/azuread-application-proxy-apps-demo/main/demo.png
    internalUrl: http://app-proxy-demo-vm.app-proxy-demo.local
    userAssignmentRequired: false
    tls:
      key_vault_name: "your-key-vault-name-here"
name: "your-certificate-name-here"Make sure to replace these variables:
your-public-dns-zone-hereyour-key-vault-name-hereyour-certificate-name-here
If you haven't already created an ssl certificate for the application you will need to do it now before continuing.
To see what other values are available the easiest way is to configure the JSON schema in your IDE and then you will get autocompletion and validation as you type.
Now you're ready to configure application proxy.
Run:
yarn dlx azure-app-proxy-manager --config apps.yamlThis should output something like:
❯ yarn dlx azure-app-proxy-manager --config apps.yaml
➤ YN0000: ┌ Resolution step
➤ YN0000: └ Completed in 2s 925ms
➤ YN0000: ┌ Fetch step
➤ YN0000: └ Completed
➤ YN0000: ┌ Link step
➤ YN0000: │ ESM support for PnP uses the experimental loader API and is therefore experimental
➤ YN0000: └ Completed
➤ YN0000: Done with warnings in 3s 201ms
Processing [
{
name: 'Demo',
logoUrl: 'https://raw.githubusercontent.com/timja/azuread-application-proxy-apps-demo/main/demo.png',
tls: {
key_vault_name: 'your-key-vault-name-here',
name: 'your-certificate-name-here'
},
appRoleAssignmentRequired: false,
appRoleAssignments: [],
onPremisesPublishing: {
externalUrl: 'https://demo.your-public-dns-zone-here',
internalUrl: 'http://app-proxy-demo-vm.app-proxy-demo.local',
externalAuthenticationType: 'aadPreAuthentication',
isHttpOnlyCookieEnabled: true,
isOnPremPublishingEnabled: true,
isPersistentCookieEnabled: true,
isSecureCookieEnabled: true,
isTranslateHostHeaderEnabled: true,
isTranslateLinksInBodyEnabled: false
}
}
]
Creating application Demo
Waiting for application to be created, attempt 1
Waiting for application to be created, attempt 2
Waiting for application to be created, attempt 3
Waiting for application to be created, attempt 4
Waiting for application to be created, attempt 5
Waiting for application to be created, attempt 6
Waiting for application to be created, attempt 7
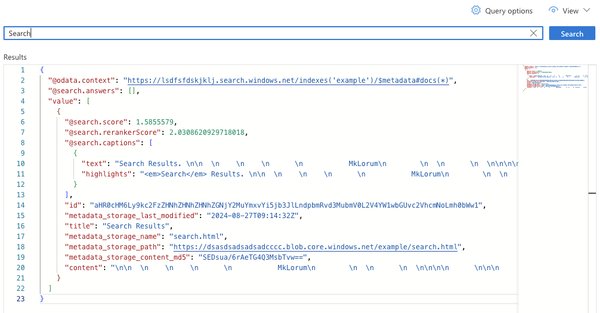
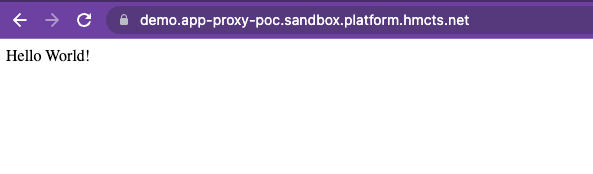
Created application successfully Demo ad48e884-025a-421f-81c0-fe5bdda442cbYou can now go to the application in the browser using the external URL you have configured.
You will be prompted to login with your Azure AD credentials. After successfully logging in you will see the test application deployed:
I hope this was useful, it took me awhile to figure all this out.